Ubuntu Multi-User Concurrent Remote Desktop Deployment
This document provides a reproducible Ubuntu-focused deployment workflow. The core objective is to enable concurrent multi-user remote desktops: services recover automatically after reboot, different accounts can connect simultaneously to isolated GNOME sessions, and Windows clients can connect reliably by account and display number.
What TurboVNC and VirtualGL Do
- VNC (Virtual Network Computing): a remote desktop protocol based on the Remote Frame Buffer (RFB), which encodes and transmits the server-side graphical session to the client and sends keyboard/mouse input events back to the server.
- TurboVNC: the “transport and session manager” for remote desktops. It compresses and streams the server desktop to clients and maintains isolated sessions for different users.
- VirtualGL: a “3D acceleration bridge.” When OpenGL-dependent applications run inside remote desktops, it ensures the 3D rendering path is handled correctly, reducing lag, black screens, and major performance loss caused by pure software rendering.
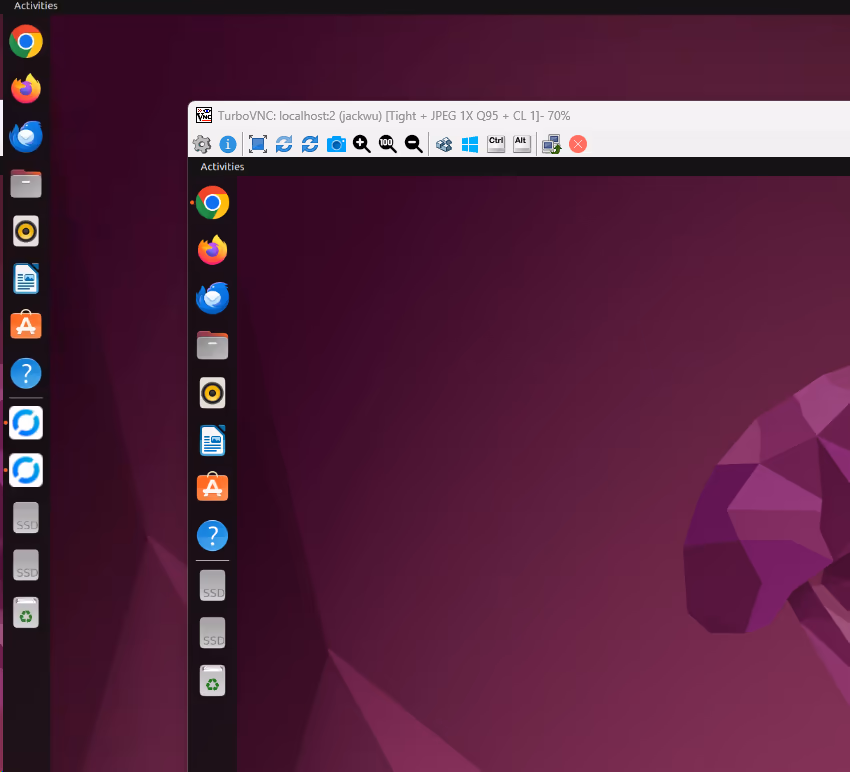
Connection UI Example
1. Objectives
After completing this guide, you will have:
- TurboVNC auto-starting after Ubuntu reboots (without GUI login)
- Multiple Linux accounts concurrently using isolated remote desktops on the same server
- Multiple VNC sessions per account (different display numbers/ports) without interference
- Stable Windows client access to the corresponding GNOME desktop by account
Prerequisites (Recommended)
- Basic Linux commands: be comfortable with
cd,mkdir,chmod,systemctl, andjournalctl. - Ubuntu user model: understand regular users,
sudoprivileges, and the$HOMEdirectory. - Basic networking: understand IP and ports, and distinguish
:2(display number) from5902(VNC port). - Remote access basics: be able to install and use a VNC Viewer on Windows.
2. Applicable Environment
- Ubuntu 22.04
- VNC display number:
:2 - VNC port:
5902 - Installation mode: rootless in user space (no writes to system
/opt)
3. Software Download Links (Official)
- TurboVNC download page: https://sourceforge.net/projects/turbovnc/files/
- VirtualGL download page: https://sourceforge.net/projects/virtualgl/files/
- TurboVNC Viewer (Windows): https://www.turbovnc.org/Downloads/
- TigerVNC Viewer (Windows, optional): https://github.com/TigerVNC/tigervnc/releases
4. One-Time Deployment Steps
4.1 Create directories and download packages
mkdir -p ~/.local/src ~/.local/opt/rootfs ~/.local/bin ~/.vnc ~/.config/systemd/user ~/.cache

curl -L 'https://sourceforge.net/projects/turbovnc/files/3.1/turbovnc_3.1_amd64.deb/download' -o ~/.local/src/turbovnc_3.1_amd64.deb
curl -L 'https://sourceforge.net/projects/virtualgl/files/3.1/virtualgl_3.1_amd64.deb/download' -o ~/.local/src/virtualgl_3.1_amd64.deb
4.2 Extract into user-space directory (rootless)
dpkg-deb -x ~/.local/src/turbovnc_3.1_amd64.deb ~/.local/opt/rootfs
dpkg-deb -x ~/.local/src/virtualgl_3.1_amd64.deb ~/.local/opt/rootfs
4.3 Create wrapper launch scripts
Write to ~/.local/bin/turbovnc-vncserver:
cat > ~/.local/bin/turbovnc-vncserver <<'EOF1'
#!/usr/bin/env
set -euo pipefail
TVNC_HOME="$HOME/.local/opt/rootfs/opt/TurboVNC"
exec "$TVNC_HOME/bin/vncserver" "$@"
EOF1
chmod +x ~/.local/bin/turbovnc-vncserver
Write to ~/.local/bin/turbovnc-vncpasswd:
cat > ~/.local/bin/turbovnc-vncpasswd <<'EOF1'
#!/usr/bin/env
set -euo pipefail
TVNC_HOME="$HOME/.local/opt/rootfs/opt/TurboVNC"
exec "$TVNC_HOME/bin/vncpasswd" "$@"
EOF1
chmod +x ~/.local/bin/turbovnc-vncpasswd
Write to ~/.local/bin/turbovnc-vncviewer:
cat > ~/.local/bin/turbovnc-vncviewer <<'EOF1'
#!/usr/bin/env
set -euo pipefail
TVNC_HOME="$HOME/.local/opt/rootfs/opt/TurboVNC"
exec "$TVNC_HOME/bin/vncviewer" "$@"
EOF1
chmod +x ~/.local/bin/turbovnc-vncviewer
Write to ~/.local/bin/vglrun-local:
cat > ~/.local/bin/vglrun-local <<'EOF1'
#!/usr/bin/env
set -euo pipefail
VGL_HOME="$HOME/.local/opt/rootfs/opt/VirtualGL"
VGL_LIB="$HOME/.local/opt/rootfs/usr/lib"
exec "$VGL_HOME/bin/vglrun" -ld "$VGL_LIB" "$@"
EOF1
chmod +x ~/.local/bin/vglrun-local
4.4 Configure GNOME session inside VNC
Write to ~/.vnc/xstartup:
cat > ~/.vnc/xstartup <<'EOF1'
#!/bin/sh
set -eu
unset SESSION_MANAGER
unset DBUS_SESSION_BUS_ADDRESS
unset DESKTOP_SESSION
unset GDMSESSION
unset XDG_SESSION_DESKTOP
export XDG_SESSION_TYPE=x11
export GNOME_SHELL_SESSION_MODE=ubuntu
exec dbus-launch --exit-with-session gnome-session --session=ubuntu
EOF1
chmod +x ~/.vnc/xstartup
4.5 Set the VNC password
turbovnc-vncpasswd
4.6 Configure systemd user service (auto-start entrypoint)
Write to ~/.config/systemd/user/turbovnc.service:
cat > ~/.config/systemd/user/turbovnc.service <<'EOF1'
[Unit]
Description=TurboVNC Server Session (:2)
After=network-online.target
Wants=network-online.target

[Service]
Type=simple
ExecStartPre=/usr/bin/rm -f /tmp/.X2-lock /tmp/.X11-unix/X2
ExecStart=%h/.local/bin/turbovnc-vncserver :2 -fg -geometry 1920x1080 -depth 24 -xstartup %h/.vnc/xstartup -noautokill
ExecStop=%h/.local/bin/turbovnc-vncserver -kill :2
Restart=always
RestartSec=2

[Install]
WantedBy=default.target
EOF1
Enable and start:
systemctl --user daemon-reload
systemctl --user enable turbovnc.service
systemctl --user restart turbovnc.service
4.7 Enable linger (ensure startup after reboot without login)
Check first:
loginctl show-user "$USER" -p Linger
If the output is not Linger=yes, run (requires admin privileges):
sudo loginctl enable-linger "$USER"
4.8 Add @reboot fallback (optional)
Create fallback script:
cat > ~/.local/bin/turbovnc-autostart-ensure <<'EOF1'
#!/usr/bin/env
set -euo pipefail
LOG="$HOME/.cache/turbovnc-autostart.log"
mkdir -p "$HOME/.cache"
{
  echo "===== $(date '+%F %T') reboot ensure ====="
  if systemctl --user is-active --quiet turbovnc.service; then
    echo "turbovnc.service already active"
  else
    echo "starting turbovnc.service"
    systemctl --user start turbovnc.service || true
  fi
} >>"$LOG" 2>&1
EOF1
chmod +x ~/.local/bin/turbovnc-autostart-ensure
Write to crontab:
(crontab -l 2>/dev/null | grep -v 'turbovnc-autostart-ensure' ; \
 echo '@reboot /bin/ -lc "sleep 25; $HOME/.local/bin/turbovnc-autostart-ensure"') | crontab -
5. Post-Deployment Verification
5.1 Check service state
systemctl --user is-enabled turbovnc.service
systemctl --user is-active turbovnc.service
Expected output:
enabledactive
5.2 Check port listening
ss -ltnp | grep 5902
Expected: 0.0.0.0:5902 is listened by Xvnc.
5.3 Verify after reboot
sudo reboot
After system startup (GUI login not required), connect from another device:
<Ubuntu_IP>:5902
6. Windows Client Connection Steps
6.1 Install a client
Recommended: TurboVNC Viewer (or TigerVNC Viewer).
6.2 Enter connection address
<Ubuntu_IP>:5902- or
<Ubuntu_IP>:2
6.3 Login
Enter the password set in turbovnc-vncpasswd.
7. Common Operations Commands
# Check status
systemctl --user status turbovnc.service

# Restart service
systemctl --user restart turbovnc.service

# Stop service
systemctl --user stop turbovnc.service

# Manually start/stop a display
~/.local/bin/turbovnc-vncserver :2 -geometry 1920x1080 -depth 24 -xstartup ~/.vnc/xstartup -noautokill
~/.local/bin/turbovnc-vncserver -kill :2

# View logs
journalctl --user -u turbovnc.service -n 200 --no-pager
tail -n 200 ~/.vnc/localhost:2.log
8. FAQ
8.1 http://<Ubuntu_IP>:5902 does not open
5902 is a VNC (RFB) port, not an HTTP web port. Use a VNC client, not a browser.
8.2 Windows cannot connect
Troubleshoot in order:
- Check service status:
systemctl --user status turbovnc.service - Check port listening:
ss -ltnp | grep 5902 - Check current IP:
hostname -I - If firewall is enabled, allow
5902/TCP
8.3 Black screen or frozen session
systemctl --user restart turbovnc.service
Reconnect once.
8.4 Conflict with GNOME Remote Desktop
If gnome-remote-desktop.service exists in the session, it may conflict with TurboVNC.
Diagnostics:
systemctl --user status gnome-remote-desktop.serviceps -ef | rg -i "gnome-remote-desktop|vncserver|Xvnc" | rg -v rgss -ltnp | rg "3389|5902"
Fix:
systemctl --user disable --now gnome-remote-desktop.servicesystemctl --user mask gnome-remote-desktop.servicegsettings set org.gnome.desktop.remote-desktop.rdp enable falsegsettings set org.gnome.desktop.remote-desktop.vnc enable falsesystemctl --user restart turbovnc.service
8.5 Shortcuts intercepted by local machine (for example Ctrl+Alt+T)
This is caused by TurboVNC Viewer keyboard grab mode. Add this parameter to the connection command:
turbovnc-vncviewer -grabkeyboard always 127.0.0.1:2
Or write the following in ~/.vnc/default.turbovnc:
GrabKeyboard=Always
9. VirtualGL Usage Notes (Optional)
Run 3D applications in the VNC session:
vglrun-local <your-3d-app>
For full GPU authorization policy (vglserver_config) and system-level optimization, additional administrator-level configuration is required.
10. Key File Paths
~/.config/systemd/user/turbovnc.service~/.vnc/xstartup~/.local/bin/turbovnc-vncserver~/.local/bin/turbovnc-vncpasswd~/.local/bin/turbovnc-vncviewer~/.local/bin/vglrun-local~/.local/bin/turbovnc-autostart-ensure